
How to Curl Beach Waves with Wand
Loose beach waves are always my go to hairstyle and after years of playing around with different techniques, tools, and hair products I’ve finally found my groove and I’m able to achieve this look in less than 20 minutes!

Prepping
In a perfect world I would prefer to curl my hair on day two hair, I will curl it on freshly clean hair but I’ll add some dry shampoo to my roots to give it a little more grip and less slip.
1.Brush through your hair with a wetbrush to get out any tangles you have. (A wetbrush is preferred because it’s gentler on the hair and it’s best to use to avoid breakage! Note don’t actually get your hair wet, it’s just the name of this particular brush!)
2. Apply a heat protectant. I love this thermal protect styling shield because there are no silicones or plastic waxes that cause build up on your hair and it protects up to 425 degrees (but PLEASE don’t use hot tools this hot on your hair, leave that temp for cooking a chicken) This heat protectant can be applied to wet or dry hair I do 2-3 pumps, rub between my hands and run through my hair.
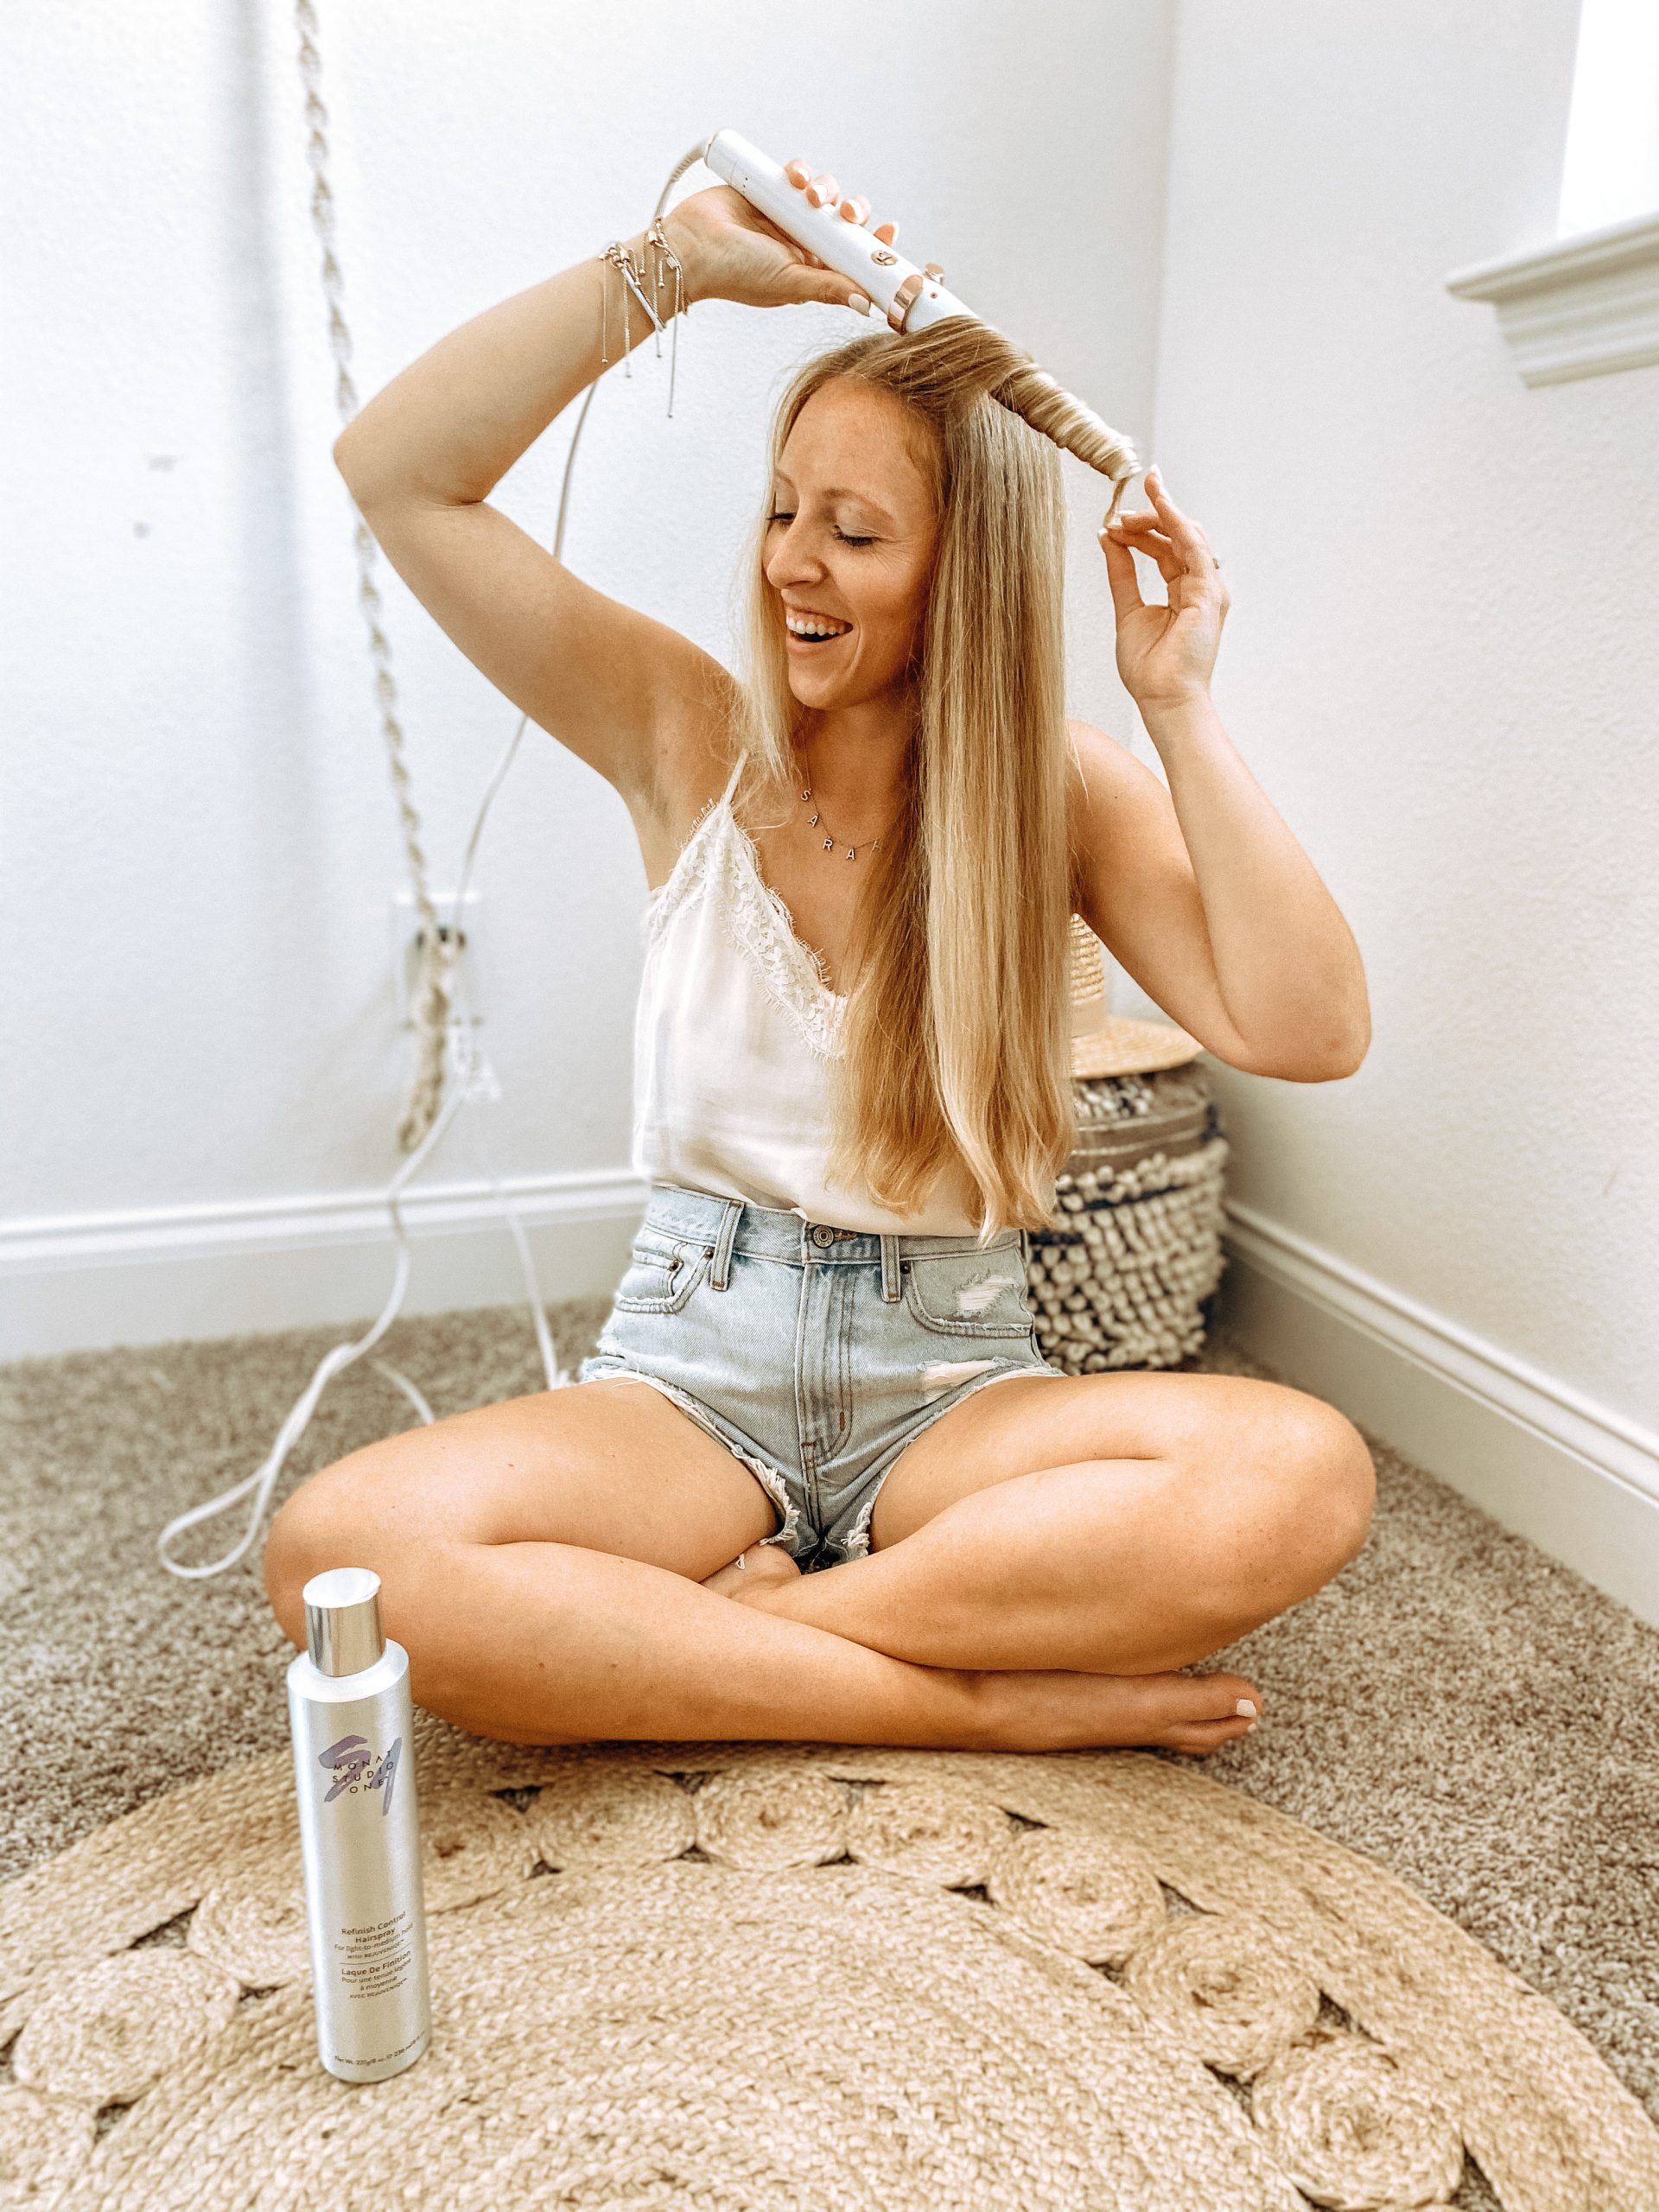
Curling
Now that our hair is prepped and ready to go, here are a few more things to keep in mind when curling with a wand…
- Turn on your curling wand to no higher than 325 degrees. Make sure the curling wand you use has temperature settings, even though we have a heat protectant on our hair it’s so important to use low heat to keep the integrity of your hair intact! This is hands down my favorite curling wand I’ve ever used and I promise it’s worth the money!
- If you have long hair, or thick hair I prefer to section off my hair into four different parts to get the best curls that will actually hold for the entire day. Section off the top layer of your hair and secure it with hair clips or a satin scrunchie. Then, split your hair into two sections on the bottom, right and left.
- Grab about 1 inch pieces of your hair and begin curling your hair away from your face. Work through your hair in each section, bring your hair down that’s pulled up and repeat until all of your hair is curled.
Here’s the secret for beach waves…. Leave 1 inch out of your curl aka don’t curl the last inch or so of your hair!
Finishing Touches
One of the most important steps is finishing your hair with the right products! I mean we took all that time to curl our hair, we’d like it to last for a couple days (yes, I said a couple DAYS!) Ever since switching to these hair products my curls have lasted a few days instead of going away by the next morning.
- Hairspray– spray down your curls holding the hairspray about 5-6 inches from your hair. I love this one because it protects against humidity and frizz and it has two different settings, a light or a strong mist depending on your preference.
- WAIT. Wait until your curls are COOL before you do anything else otherwise all that time you spent curling will just go away!
- Comb, brush, or use your fingers to soften your curls to give them that beach wave we are going for
- Spray this texturizing spray on your curls as well onto your roots for some extra volume and grit
- Apply 1 drop of rejuveniqe oil to your ends and pat on top of your head to capture any crazy flyaways && you’re DONE!
You can watch all of this in action HERE on my most recent IGTV if you’re more of a visual learner like I am!


Curling Wand | Heat Protectant | Dry Shampoo | Hairspray | Dry Texturizing Spray | Hair Oil | Hairbrush
Happy Curling!
XOXO,
Sarah Ashley
Related Posts

DIY Beach Hair
No beach, no problem! There’s something about the combination of the salty ocean, gentle…
23 July, 2020
How to do a Rejuveniqe Oil Treatment
How to do an Overnight Rejuveniqe Oil Treatment I’m going to show you step…
23 July, 2020